


Tightening the lug nuts on your wheels to the correct amount of foot-pounds of force with a torque wrench is one of the more overlooked car care musts. We all hear of shops just impacting lug nuts back on your vehicle after a service, but with this guide we are going to show you exactly how to use a torque wrench to ensure your vehicle’s wheels are snugged up to the correct specifications.
In this guide, I will be using both a standard click style torque wrench and a digital torque wrench. There is different technology behind each wrench, but the goal is the same. My basic torque wrench is perhaps the cheapest you can buy, a Pittsburgh Pro 1/2″ Click Stop Torque Wrench, while my Craftsman 1/2″ Digital Torque Wrench is a bit pricier. I will be showing how to use them on my daily driver BMW E92 M3.
4 Easy Steps To Properly Torque Your Lug Nuts

Step 1: Set Up Your Torque Wrench
You can think of a torque wrench as both a wrench and a measuring stick combined. For the measuring part, you have to set your wrench up to a torque amount you are measuring for.

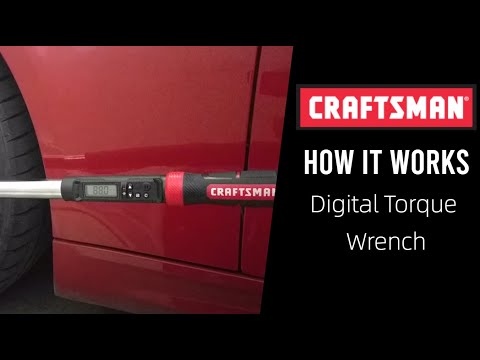
On a standard click style torque wrench this is achieved by twisting the bottom knob until you screw the handle to the appropriate torque. On a digital torque wrench this is achieved much easier, by simply pressing the up or down buttons on the wrench until you get to the torque number you want on the screen.

A digital torque wrench allows you to be more sure of the exact torque number you have set. For example, my M3 lug nuts require 88 lb-ft of torque. On a click style, I twist the knob to 90 lb-ft of torque and back it down a smidge near what would look like 88. Where as on the digital torque wrench, I can set it to go to exactly 88. Setting it across different measurements like lb.-ft. and nm is also much easier on a digital wrench.
After setting the wrench to the required torque specification, attach the socket in the socket size of your lug nuts. Depending on the depth of your wheels a socket extension may be needed.

Step 2: Torque a Lug Nut
Once your wrench is all set up, you are ready to torque your first lug nut.
Put the socket over a lug nut. Pull down from above on the wrench with the socket on the lug nut. If it is continuing to spin then keep tightening the lug nut until it is tight.
The first big difference I mentioned was how you set each wrench, but each wrench also has unique different ways to let you know you put the torque force on the lug nut as well.
On the click style wrench, you will hit a point where you will hear and feel a forceful “click.” At this point, you can stop tightening, as the nut is torqued to the correct specification. This is why they call it a click-style torque wrench.

On the digital wrench, you will hear an audible beep with a green light. When it changes to a red light you know the nut is torqued to spec.
Step 3: There is a Correct Pattern When Tightening Lug Nuts
In many things in life, you simply move on to the next closest thing, but not with lug nuts. When I first began attending track days, the instructors would say “be sure to torque your wheels” without any information on how to do it. So I imagine so many vehicles are unsafely torqued out there.

Once you torque one lug nut, you must move to a lug nut across from it, not one next to it. As the image example above shows, if you torqued the lug nut highlighted with a green star, then you would move to either lug nut across from it marked with a green check, not the two red X’d ones.
Continue torquing the lug nuts in this ‘across from’ pattern until they are all torqued to your set value.
Step 4: Reset Your Torque Wrench
This step is only needed for the old manual click style wrenches. Inside that wrench is basically a spring, and you don’t want that sitting compressed until its next use, as it may start to lose its calibration. You need to “back down” the torque setting on the wrench, to a value less than 20% of the total ability of the wrench. So if the wrench can do up to 100 lb.-ft., then set it to 20 lb.-ft. before putting it away.
The digital torque wrench does not require any special resetting after use. You can simply put it in your toolbox.
Now You Know How To Use A Torque Wrench
If you followed these steps your wheel is now safely torqued. Baring a manufacturer defect, you should be able to go left without your wheels going right.

